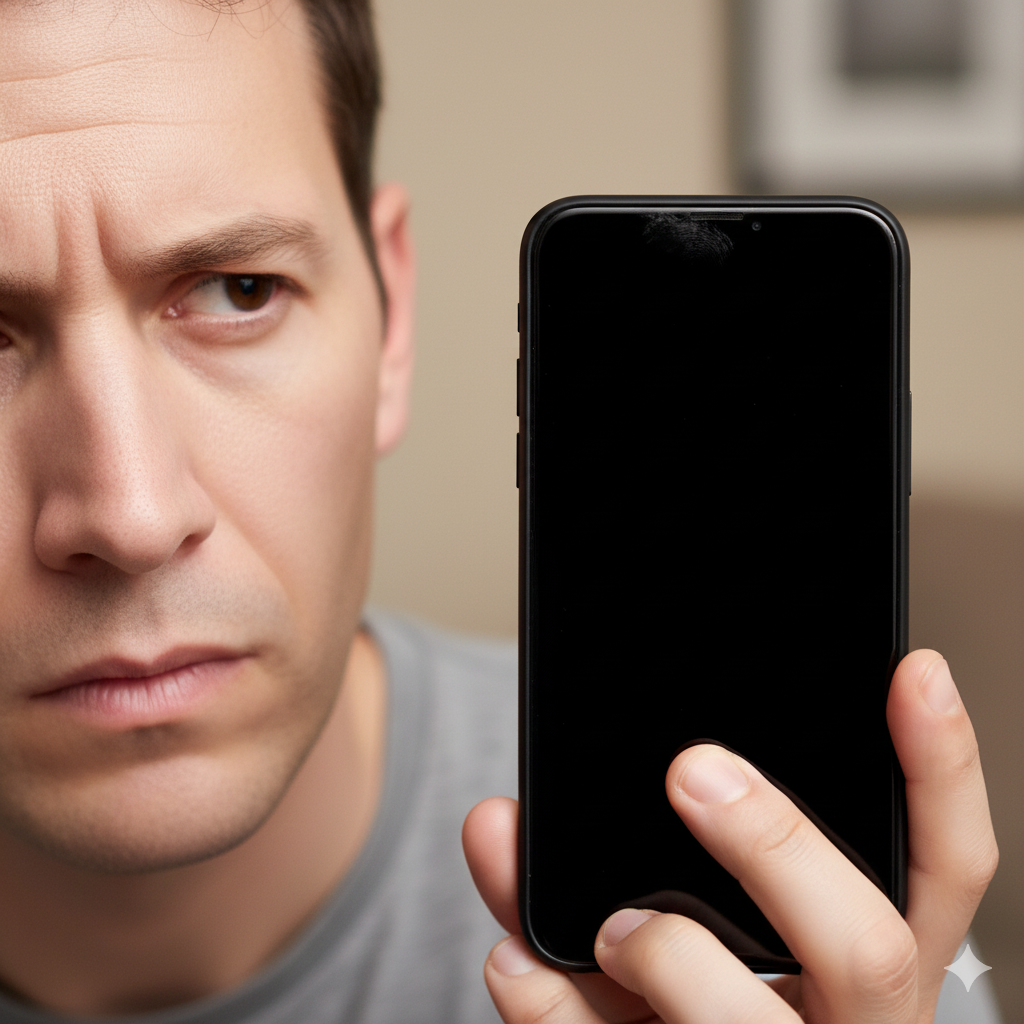
Have you ever been on an important call, pulled the phone away from your ear to use the keypad, and been met with… nothing? Just a stubborn, unresponsive black screen. Suddenly, you can’t hang up, mute the call, or even put it on speaker. It’s a moment of pure technological frustration, and in some cases, panic. Is your phone broken? Are you stuck in some strange “voice-only mode”?
This common issue is one of the top problems we see at our repair centers. While it feels like a major failure, this “black screen” is actually a feature—when it’s working correctly. When it’s not, it becomes a significant problem, trapping you in a call you can’t control.
As a team of certified device repair technicians with over a decade of experience diagnosing and fixing thousands of smartphones, we want to help you understand why this happens and how to fix it. This isn’t just an inconvenience; a phone that doesn’t respond when you need it to can be a safety issue.
In this definitive guide, we will explore the science behind that black screen, walk you through a complete 9-step diagnostic process (from simple 30-second fixes to more advanced troubleshooting), and explain when it’s time to call a professional.
Section 1: The “Black Screen” Explained: It’s a Feature, Not a Bug (Usually)
Before we dive into the fixes, it’s crucial to understand the component responsible for this behavior. That black screen isn’t a “mode” but the action of a tiny, unsung hero in your device: the proximity sensor.
What is a Proximity Sensor and How Does It Work?
A small piece of hardware called a proximity sensor sits tucked away at the very top of your phone, near the earpiece speaker and front-facing camera. You can’t usually see it, but it’s always working.
This sensor’s job is simple: to detect how close your phone is to another object (like your face).
The Infrared (IR) Process
The sensor typically works by emitting a beam of invisible infrared (IR) light. When you’re not on a call, this sensor is mostly dormant. The moment you place or answer a call, the sensor activates.
- When you hold the phone to your ear, your face reflects that IR light back to the sensor.
- The sensor detects this high level of reflected light and immediately tells the phone’s operating system, “An object is near! Turn off the display.”
- When you pull the phone away from your ear, the IR light no longer reflects.
- The sensor detects the absence of the reflection and tells the OS, “The object is gone! Turn the display back on.”
This entire process is instantaneous and is a core function of every modern smartphone, from the latest iPhone to every Android device.
Why Do Phones Need This? The 3 Core Benefits
This feature, which we’ll call “proximity blanking,” is essential for three main reasons:
- Prevents Accidental Input: This is the big one. Your cheek and ear can easily interact with a touchscreen. Without the proximity sensor, you would be constantly and accidentally muting calls, putting people on hold, dialing numbers on the keypad, or even hanging up. Turning the screen off completely eliminates this “cheek-dialing” problem.
- Saves Battery Life: The smartphone display is, by a massive margin, the most power-hungry component on your device. Leaving it on for a 30-minute phone call would drain your battery significantly. Proximity blanking is a critical power-saving feature.
- Reduces Heat: A display that is on generates heat. By turning it off when it’s pressed against your skin, the phone remains cooler and more comfortable to hold for long conversations.
So, the “black screen” itself is normal. The problem arises when the sensor gets confused and the screen stays black even after you pull it away from your face. This is when the feature becomes a fault.
Section 2: The “Why”: Common Causes for a Stuck Black Screen
When your phone’s screen refuses to turn back on during a call, it means the proximity sensor is incorrectly telling the phone that it’s still next to your face. We can trace this failure back to two main categories: software glitches or hardware faults.
Based on our repair experience, here is the breakdown of the most common culprits, from simple to complex.
Category 1: Simple & Reversible Issues (The “DIY” Problems)
These are the most common causes and, luckily, the easiest to fix. They all involve something physically blocking the sensor or confusing the software.
- A Dirty or Smudged Screen: This is the #1 cause we see. The glass at the top of your phone covers the proximity sensor. If grease, makeup, oils from your skin, or even just a heavy layer of dust obscures this small area, it blocks the sensor’s IR light. The sensor mistakes this blockage for your face and keeps the screen off.
- Poorly Fitted Screen Protectors: Many budget or incorrectly installed screen protectors can be a proximity sensor’s worst nightmare. They may have a slightly misaligned cutout, or the manufacturer may have made them from a material that scatters or reflects the IR light improperly. Even high-quality protectors, if they get a speck of dust or an air bubble underneath them right over the sensor, will cause this issue.
- Bulky or Improperly Designed Phone Cases: Some “tough” or “rugged” cases have a thick top lip or bezel that rises far above the screen. This lip can be just large enough to cast a shadow or partially block the sensor, tricking it into thinking your face is near.
Category 2: Software Glitches & App Conflicts
Sometimes, the hardware is fine, but the software telling it what to do is confused.
- A Recent OS Update: A new update to iOS or Android can sometimes contain bugs. It’s possible for an update to miscalibrate the sensor’s sensitivity, causing it to be too sensitive (thinking your face is there when it isn’t) or not sensitive enough.
- Third-Party App Conflicts: The problem might not be your main phone dialer. If this issue only happens when you’re on a call with an app like WhatsApp, Telegram, Skype, or Google Voice, that app may have a bug or a permission issue that is conflicting with the sensor’s normal operation.
- Corrupted System Cache: Over time, your phone’s system cache—a collection of temporary files used to speed things up—can corrupt. This can lead to all-around strange behavior, including sensor malfunctions.
Category 3: Hardware Failure & Physical Damage
This is the most serious category, where the sensor itself or its related components are broken. This almost always requires professional repair.
- A Hard Drop (Impact Damage): The proximity sensor is a delicate component, often part of a larger “flex cable” assembly with the front camera and earpiece. A hard drop, even one that doesn’t crack the screen, can be enough to dislodge the sensor from its mounting, sever a tiny connection, or damage it internally.
- Water Damage: Liquid is the enemy of electronics. Even a small amount of moisture (from rain, steam, or a splash) can get into the earpiece grille and cause corrosion on the sensor’s connectors, leading to an immediate or eventual failure.
- A Botched Screen Replacement: This is tragically common. If you’ve recently gotten a screen replacement at an unauthorized or inexperienced repair shop, there’s a high chance the technician damaged the proximity sensor, failed to transfer it correctly to the new screen, or misaligned it during reassembly.
Section 3: Your 9-Step Guide to Fixing the Black Screen Problem
Let’s walk through the troubleshooting process like a professional technician would. Start with Step 1 and do not skip any, as the solution is often the simplest one.
The Immediate Workaround: How to End a Call NOW
Before you fix the root cause, you need a way to end the call you’re trapped in. There is a built-in accessibility feature for this: pressing the side (Power) button.
On almost all smartphones, this action will end an active call. If it doesn’t, you may need to enable the setting (once you regain control of your screen).
How to Enable “Power Button Ends Call”
- On Android (Samsung, Pixel, etc.): Go to
Settings>Accessibility>System controls> and toggle on"Power button ends call". - On iPhone: This is the default behavior. Pressing the side button (or top button on older models) will lock the screen and end the call.
Now that you’re not stuck, let’s find the real problem.
Phase 1: The “Simple Fixes” Checklist (Do These First)
Step 1: Clean the Top of Your Screen This is the fix in at least 50% of cases. Take a clean, dry microfiber cloth (like one you’d use for eyeglasses) and thoroughly wipe the top edge of your phone, over the earpiece speaker and camera area. Remove all smudges, makeup, and oil. Make a test call to a friend (or your voicemail) to see if this resolves the issue.
Step 2: Remove Your Case and Screen Protector If cleaning didn’t work, the next step is to remove all accessories. Take your phone completely out of its case. Then, carefully peel off your screen protector. (Yes, even if it’s brand new). Now, make another test call. If the screen behaves normally, you have found your culprit. It was either the case or the protector.
Step 3: Perform a “Soft Reset” (Restart) This is the classic “turn it off and on again” fix, and it works for a reason. A simple restart can clear minor software glitches and memory conflicts that might be confusing the sensor.
- For most Android phones: Press and hold the power button, then tap “Restart.”
- For iPhones: Press and hold the side button and either volume button until the “slide to power off” slider appears. Slide it, wait 30 seconds, then press and hold the side button to turn it back on.
Phase 2: Software Troubleshooting (The “Deeper” Fixes)
If the problem persists, it’s time to look at software.
Step 4: Perform a “Hard Reset” (Force Restart) A hard reset is more forceful than a simple restart. It cuts the power to the components and forces the phone’s memory to clear completely. This is extremely effective for more stubborn software freezes.
- For iPhone 8 or newer: Quickly press and release the Volume Up button. Quickly press and release the Volume Down button. Then, press and hold the Side button until you see the Apple logo appear.
- For Android phones (most models): Press and hold the Power button and the Volume Down button simultaneously for 10-15 seconds until the phone restarts.
Step 5: Update Your Operating System (OS) That black screen could be a known bug that Apple or Google has already fixed in a new patch. Ensure your phone is running the absolute latest software.
- On iPhone: Go to
Settings>General>Software Update. - On Android: Go to
Settings>System>System update(orSoftware update).
Step 6: Test in “Safe Mode” (Android Only) This is a brilliant diagnostic tool. Safe Mode restarts your Android phone and disables all third-party apps.
- To enter Safe Mode: Press and hold the power button. When the “Power off” icon appears, press and hold the “Power off” icon on your screen. A prompt for “Safe Mode” will appear. Tap it.
Once in Safe Mode (you’ll see the words on-screen), make a test call.
- If the problem is GONE, you know 100% that a third-party app you downloaded is the cause. Restart your phone normally and start uninstalling recent apps (especially dialers, call recorders, or VOIP apps) one by one until the problem is fixed.
- If the problem persists in Safe Mode, it’s not a third-party app.
Step 7: Reset All Settings This is a final software step before getting drastic. It will not delete your data (photos, contacts, apps), but it will reset all your system settings (Wi-Fi passwords, Bluetooth pairings, accessibility settings) back to their factory defaults. This often resets faulty sensor calibrations.
- On iPhone: Go to
Settings>General>Transfer or Reset iPhone>Reset>Reset All Settings. - On Android: Go to
Settings>System>Reset options>Reset all settings(orReset Wi-Fi, mobile & Bluetooth).
Phase 3: Hardware Diagnosis (The “Moment of Truth”)
If you have done all 7 steps above and the screen still goes black, the problem is almost certainly a faulty piece of hardware. Here’s how to confirm.
Step 8: Use a Hardware Test Code (Android Only) Many Android phones, particularly Samsung, have a “secret” diagnostic menu.
- Open your phone’s dialer.
- Type in the code
*#0*# - A diagnostic screen with many buttons will appear. Tap the button that says “Sensors.”
- Look for “Proximity Sensor.” Place your hand over the top of your phone. The screen should turn green and vibrate.
- If you move your hand away, it should return to a white screen.
- If the screen stays green even with your hand away, your sensor is stuck/broken.
Step 9: The Voice Memo Test (iPhone) iPhones don’t have secret codes, but this is an excellent technician’s trick.
- Open the “Voice Memos” app.
- Start a new recording.
- While it’s recording, cover the top of your phone (where the earpiece is) with your finger.
- If the proximity sensor is working, the screen will go black, just like on a call.
- If you start a recording and the screen immediately goes black (before you even cover it), or if it never goes black when you cover it, the sensor is confirmed to be faulty.
If your phone fails either of these hardware tests, no amount of software troubleshooting will fix it. The component has failed.
Section 4: The Solution: Professional Repair & Future Prevention
You’ve done the work. You’ve cleaned the screen, reset the software, and confirmed with a hardware test that the sensor itself is the problem. Your DIY journey ends here, and it’s time to let an expert take over.
What Does a Professional Repair Involve?
When you bring your device to a trusted repair shop, a technician will open the device and perform one of several fixes, depending on the cause:
- Re-alignment: If the sensor was just dislodged from a drop, it may simply need to be reseated in its proper mounting bracket.
- Cleaning: The technician can clean the inside of the sensor lens and the underside of the screen glass, removing any internal dust that was blocking it.
- Flex Cable Replacement: Most often, the proximity sensor is part of a larger component called the “Front-Facing Camera & Sensor Assembly.” The entire flex cable, which may also include the earpiece connectors and front camera, will be replaced with a new part.
This is a delicate operation, especially on iPhones where the sensor assembly is paired to the logic board for Face ID. Using an inexperienced shop can result in Face ID being permanently disabled. That’s why trusting certified professionals is essential.
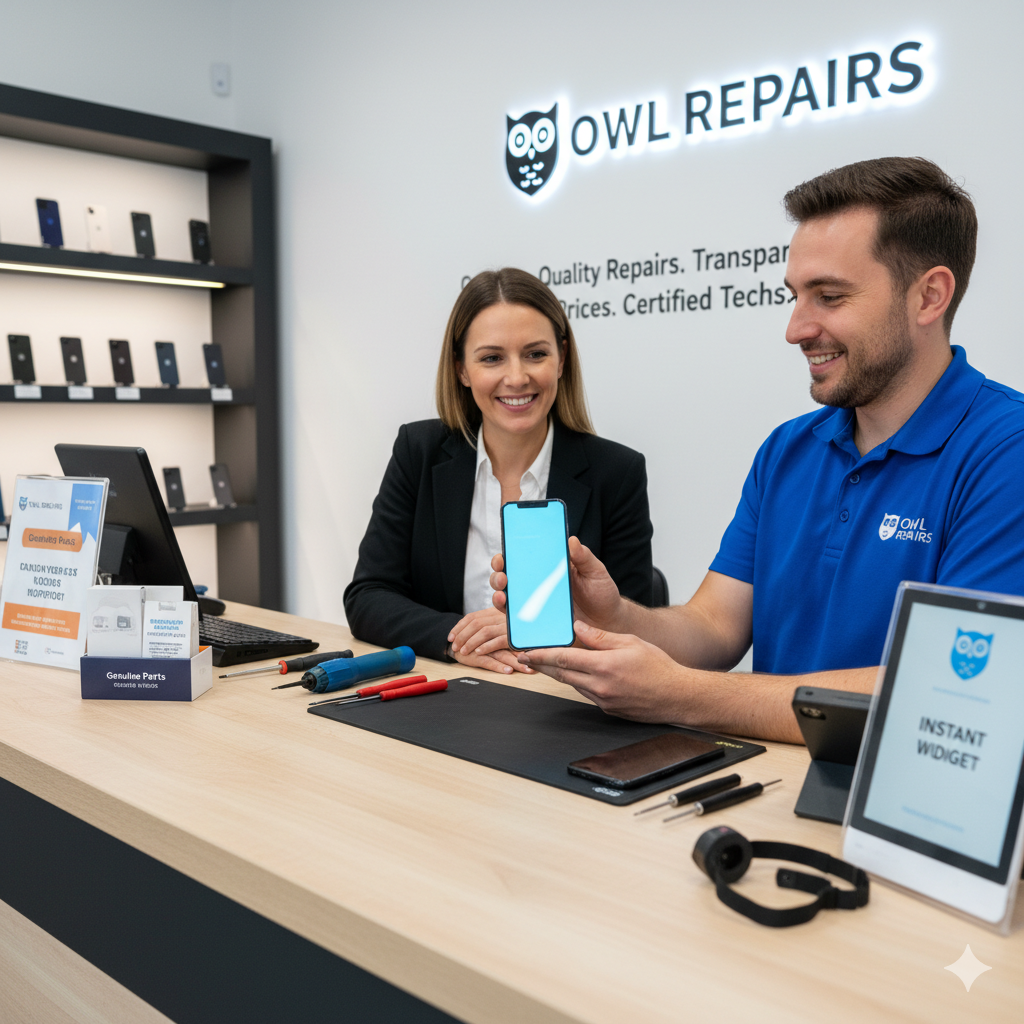
If your phone is suffering from this or any other issue, our team at Owl Repairs can provide a fast, reliable diagnosis. You can get an Instant Quote right now to see your options. And if you can’t get to us, We Come To You with our mobile repair service.
Is a Repair Worth It? (Repair vs. Replace)
In most cases, a proximity sensor repair is a cost-effective fix that can add years to your phone’s life. However, if the phone is very old or has other issues (like a failing battery and a cracked back), you might be facing multiple repairs.
At this point, you have options. You could Sell Your Device to us (we buy devices even with faults) and put that cash toward a new phone. Or, you can browse our inventory of certified refurbished devices and Buy a Device that is guaranteed to work perfectly, saving you money and an unnecessary trip to a big-box store.
Conclusion: Regaining Control of Your Calls
A phone screen that goes black during a call is a deeply frustrating problem, transforming a simple “feature” into a major fault. It’s (usually) your proximity sensor, which is designed to prevent accidental screen taps and save battery.
As we’ve covered, the solution can be as simple as wiping your screen or removing a faulty screen protector. But it can also be a sign of a deeper software glitch or a true hardware failure from a drop or water damage. By following our 9-step guide, you can confidently diagnose the issue yourself.
Don’t let a faulty sensor control your conversations. Whether you need a simple fix, a professional repair, or a complete upgrade, Owl Repairs has the expertise to get your device—and your peace of mind—back in working order.
Frequently Asked Questions (FAQs)
Q1: Why does my iPhone screen go black on WhatsApp or Facebook Messenger calls? A1: This is almost always an app-specific issue. The app may not have been updated to work with your latest iOS version, or its permissions are bugged. The first fix is to go to the App Store and update the app. If that fails, try deleting the app, restarting your iPhone, and then reinstalling it. This forces it to re-establish its connection with the phone’s hardware, including the proximity sensor.
Q2: Can I just disable the proximity sensor permanently? A2: On iPhones, no. Apple does not allow you to disable this core function. On some Android models, there are third-party apps or “Developer Mode” settings that claim to disable it, but we strongly advise against this. You will run into constant issues with accidental muting, and your battery will drain significantly faster. It’s always better to fix the root cause.
Q3: How much does it cost to fix a broken proximity sensor? A3: The cost varies widely depending on your phone’s model and the extent of the damage. For some models, it’s a simple re-alignment. For others, it requires a full front-flex cable replacement. The only way to know for sure is to get a diagnosis from a professional. You can get a no-obligation Instant Quote on our website to get a clear idea of the cost for your specific device.
Disclaimer
The information provided in this blog post is for educational and informational purposes only and does not constitute professional technical advice. While we strive to provide accurate, step-by-step instructions, any DIY troubleshooting or repair attempts are performed at your own risk. Owl Repairs is not liable for any damage that may occur to your device from following these guides. If you are not comfortable performing any of the steps listed (especially those involving software resets), we strongly recommend seeking help from a certified professional.