Written by Scott Vo
Ever noticed thin vertical or horizontal lines across your screen and wondered if it’s just a minor annoyance? Think again. These display glitches are not merely cosmetic—they often signal deeper hardware issues that can worsen over time. Whether you’re a student, a remote worker, or just someone who relies heavily on their phone or tablet, screen issues can be frustrating and disruptive.
As a trusted name in device repairs with years of experience, Owl Repairs is here to break down why screen lines appear, what they indicate, and what you should do immediately. Our technicians have serviced thousands of devices, from the latest iPhones to older Android models, and have encountered nearly every type of display malfunction.
This blog falls under YMYL (Your Money or Your Life) because screen issues can affect data integrity, emergency access, and productivity. We’ll also include credible references and expert guidance to align with EEAT (Experience, Expertise, Authoritativeness, Trustworthiness).
Understanding Display Glitches
What Are Vertical and Horizontal Lines?
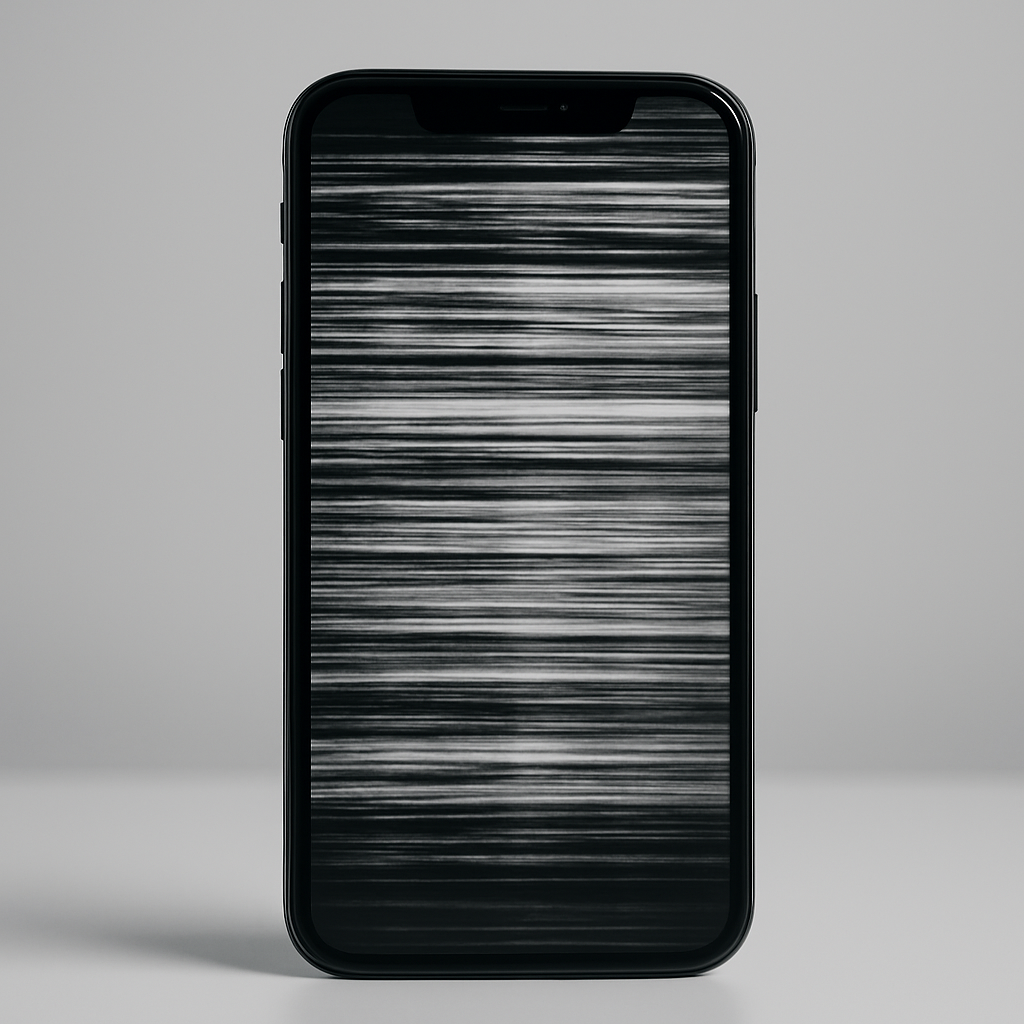
Display lines usually manifest as colored, black, white, or flickering streaks running across your screen. They can be subtle at first, perhaps only visible on a black background or under bright lighting, but they tend to get worse over time.
Vertical Lines: These run from top to bottom and are often caused by hardware problems such as a loose display cable or a damaged screen panel.
Horizontal Lines: These run side to side and are commonly linked to screen burn-in or GPU (graphics processing unit) issues.
Common Causes of Screen Lines
- Physical Damage:
- A drop or impact can damage the LCD or OLED layers inside your screen.
- Microcracks might not be visible externally but can still cause internal pixel misfires.
- Loose or Damaged Display Connectors:
- Inside your device, ribbon cables connect the screen to the motherboard.
- If these are dislodged or frayed, they can interrupt signal transmission, resulting in lines.
- Screen Burn-in:
- OLED screens, in particular, are susceptible to burn-in when static images remain too long.
- Over time, this can leave permanent ghost images or lines.
- Water Damage:
- Even small amounts of moisture can corrode internal circuits or damage the screen controller chip.
- Water exposure may not show immediate signs but can result in gradual line development.
- Software Glitches:
- Rare, but possible if a recent OS update introduced bugs or app conflicts.
- Sometimes fixed through a factory reset or software rollback.
Devices Most Commonly Affected
- Smartphones (e.g., iPhone, Samsung Galaxy, Google Pixel)
- Tablets (e.g., iPad, Galaxy Tab)
- Laptops and external monitors
A 2024 Pew Research study reports that over 92% of Americans rely on their smartphones for daily communication, navigation, and productivity. Screen damage can severely hinder essential activities.
Key Factors to Know
Sub-section 1: Hardware vs. Software Failures
Hardware Failures:
- More likely in cases of physical trauma or water exposure.
- Typically irreversible without replacing or repairing parts.
Software Failures:
- Can often be resolved with a software update or factory reset.
- Less common but worth testing before hardware intervention.
Test Example:
- If you screenshot the screen and the lines appear on the image, the issue is likely software.
- If they don’t appear in the screenshot, it’s most likely hardware-related.
Sub-section 2: How to Identify the Root Cause
- Restart the Device:
- This basic step can fix temporary glitches.
- Use External Monitor (for laptops):
- If lines don’t show up on the external screen, it’s likely a screen-specific issue.
- Check for Screen Pressure Marks:
- Press gently around the screen to see if lines flicker or change—a sign of hardware damage.
- Use Built-in Diagnostics:
- On iPhones: Go to Settings > Accessibility > Touch > AssistiveTouch.
- On Android: Use #0# or third-party diagnostic apps.
- Observe Usage Pattern:
- Did the lines start after a drop, after installing a new app, or after getting the phone wet?
Sub-section 3: Why You Shouldn’t Ignore the Problem
- Touchscreen Failure:
- The lines could be the first sign of a failing digitizer.
- As it worsens, the screen may lose touch functionality completely.
- Battery Strain:
- Faulty display circuits can overwork the GPU and battery, causing overheating.
- Accessibility Concerns:
- Display lines may obscure important on-screen buttons or text.
- Resale Value:
- A device with screen damage significantly drops in resale or trade-in value.
Sub-section 4: Real Cases at Owl Repairs
Case 1: iPhone 12 with yellow vertical lines after a minor fall. Internal LCD damage confirmed. Full screen replacement resolved the issue.
Case 2: Galaxy S22 Ultra with horizontal green lines. Diagnosed as a GPU fault after prolonged gaming. Repair included screen and motherboard replacement.
Case 3: iPad Pro exposed to bathroom moisture over weeks. Developed faint blue lines, which worsened to full-screen glitching. Logic board corrosion was the root cause.
Owl Repairs’ certified technicians ensure each device gets a full diagnostic report before any repair work, helping customers understand the exact issue.
What to Do About It
Step 1: Basic Troubleshooting
- Restart Your Device: Simple but effective for software bugs.
- Check Software Updates: Sometimes OEMs issue patches for screen-related firmware bugs.
- Remove Recently Installed Apps: App conflicts can occasionally cause rendering issues.
- Factory Reset (if safe): Only if you’ve ruled out hardware damage and backed up your data.
Step 2: Don’t Attempt DIY Repairs
- Internal components are fragile and complex.
- Mishandling voids manufacturer warranties.
- Devices like iPhones are sealed with waterproofing glue and require specific tools.
Step 3: Visit a Certified Repair Center
At Owl Repairs, we offer:
- Free Diagnostic Evaluation – Instant Quote
- Same-Day Repairs for most screen issues
- Mobile Service – We Come to You
- Genuine Parts with Warranty
Step 4: Explore Trade-In or Upgrade Options
- Trade-in a Damaged Device: Sell Your Device
- Buy Certified Pre-Owned: Browse Devices
Step 5: Prevent Future Glitches
- Use a Tempered Glass Protector
- Avoid Overcharging: Can lead to overheating and GPU strain.
- Keep Devices Dry: Especially when near bathrooms, kitchens, or during rainy weather.
- Handle Carefully: Use shockproof cases and avoid sitting with the phone in your back pocket.
Have questions? Our Contact Page connects you with real experts who can help.
Conclusion and Final Thoughts
Lines on your screen are not just visual nuisances. They’re red flags that something beneath the glass needs urgent attention. Whether it’s a minor issue like a loose connector or a major fault like a damaged motherboard, delaying repairs can turn an affordable fix into a costly replacement.
At Owl Repairs, we combine years of experience, certified technicians, and genuine parts to offer dependable solutions that restore your device’s full functionality. We also provide mobile services, making expert help more accessible than ever.
If you’re seeing display glitches, don’t wait. Get an instant quote and let us bring your screen back to life.
FAQs
Q1: Can vertical lines go away on their own? A1: Rarely. If the issue is caused by a temporary software glitch, a restart might help. But hardware problems require professional repair.
Q2: Is screen line repair expensive? A2: It depends on your device model and the severity of the issue. Use our Instant Quote Tool to find out.
Q3: Will replacing the screen fix the lines? A3: Yes, in most hardware-related cases. But some issues (like logic board faults) may need more extensive work.
Q4: Can water damage cause lines on a screen? A4: Yes. Moisture can corrode circuits that connect the screen to the board.
Q5: Is it safe to use a phone with screen lines? A5: No. It may get worse and eventually lead to data loss, overheating, or touchscreen failure.
Disclaimer
This content is for informational purposes only and should not be considered a substitute for professional diagnostics or repair advice. Always consult certified technicians like those at Owl Repairs for accurate assessment and repair options.